Want to learn more
about Rocket?
Find answers to common
questions students ask
Creating an account is straightforward.
The first step is to register as a user.
You can do this through your email account or you can use your Google account.
Once you’ve registered, you can use Rocket for
30 days free—no credit card required.
Just like you would expect, a Course is where you keep all of your information for that specific class you are taking.
There are no limits to how many Courses you can have, and no limit to how much information you can add to a Course.
Creating a Course is easy. Choose the “+ Create Course” button at the top right of the screen.
A pop up will then ask you for a Course Name (such as Accounting 101) and a Course Alias (such as Acctg 101).
The Name and Alias are searchable in the “Search Courses” box on the top left.

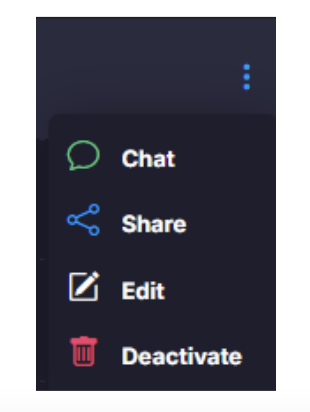
Courses cannot be deleted, but instead they can be deactivated. From the Course listing page, choose the “Actions” menu and choose “Deactivate”.
A pop up will prompt you that you want to deactivate this Course.
We do not delete Courses that are deactivated in the event that you make a mistake and need to reactivate it.

Once you have selected a Course, you can click the “Create Folder” button at the top right. You’ll be prompted in a pop up to provide a Folder name and description. The description is optional.
Tip: There is no limit to the number of Folders, and you can create Folders within Folders.
Once you have selected a Course, you can click the “Upload File” button at the top right.
On the Upload screen you can drag and drop the file to upload it or use the “Upload a File” button to browse your device for the file to use. Once you choose the file the application will let you know if it was uploaded and extracted successfully.
From the File Management screen you can also Create Folders and Add Notes.
You can upload various file formats including PDF, DOC, DOCX, PPT, PPTX, TXT, PNG, JPEG, and MP4.
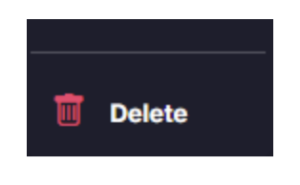
From the file listing page, choose the “Actions” menu and choose “Delete” A confirmation message will ask you if you want to delete the file.
Tip: unlike Courses which are deactivated, but not deleted, Files are deleted and removed from the Course and AI permanently.

From the file listing page choose the “Add Note” button at the top right. You will be taken to the Add Note screen.
This is a very powerful feature. You can cut and paste text into the editor. You can take your notes directly into the editor. Clicking “Cancel” will not save the Note and you will be navigated back to the File Management screen.
Tip: be sure to name the Note at the top of the editor and click the “Save” button.
From any page, simply click “Record” in the main navigation bar.

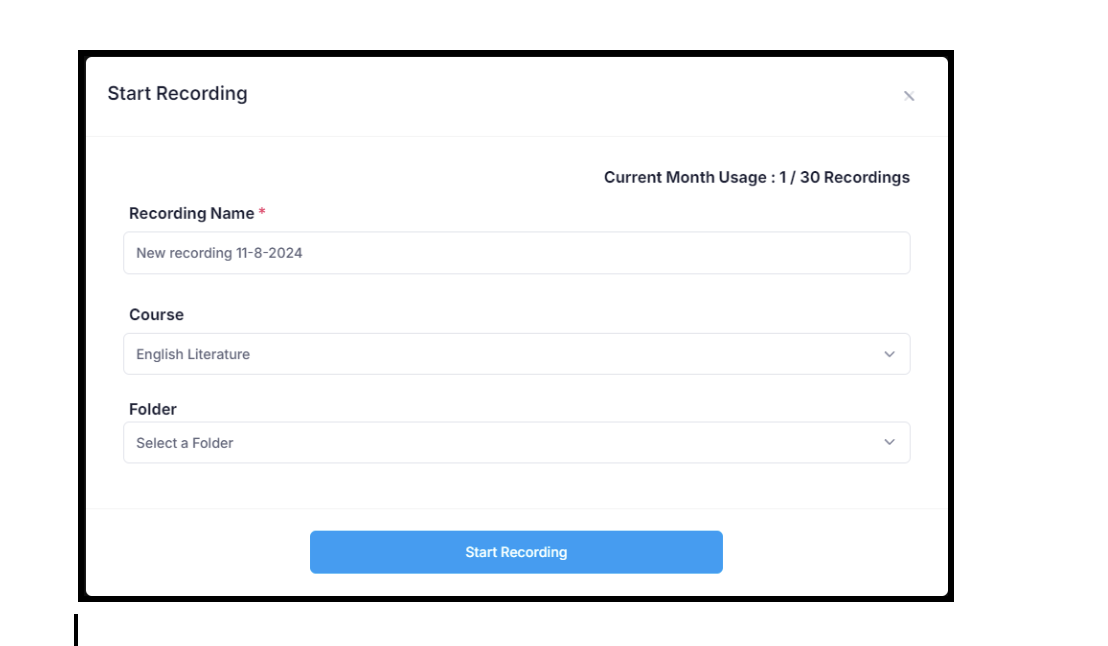
Rocket will then prompt you to name the recording, select the course to save it to, and choose a folder if you want (that is completely optional). Then click “Start Recording”

Tip: the first time you record a class, you will need to give the browser permission to access your on device microphone. Your browser should prompt you to do this by default.
Rocket is your friendly AI Study Buddy—
part tutor, part Golden Retriever—
who’s always ready to chat and
fetch whatever you need.
Rocket transcribes your lectures,
summarizes PDFs and PowerPoints,
organizes all your materials in one place,
improves your memory with Flashcards,
tests your knowledge with Quizzes,
and answers your questions
on any file you upload,
all in seconds.
Try it risk-free for 30 days—
no credit card required.
Email us at support@fetchrocket.com,
or you can contact us below.
